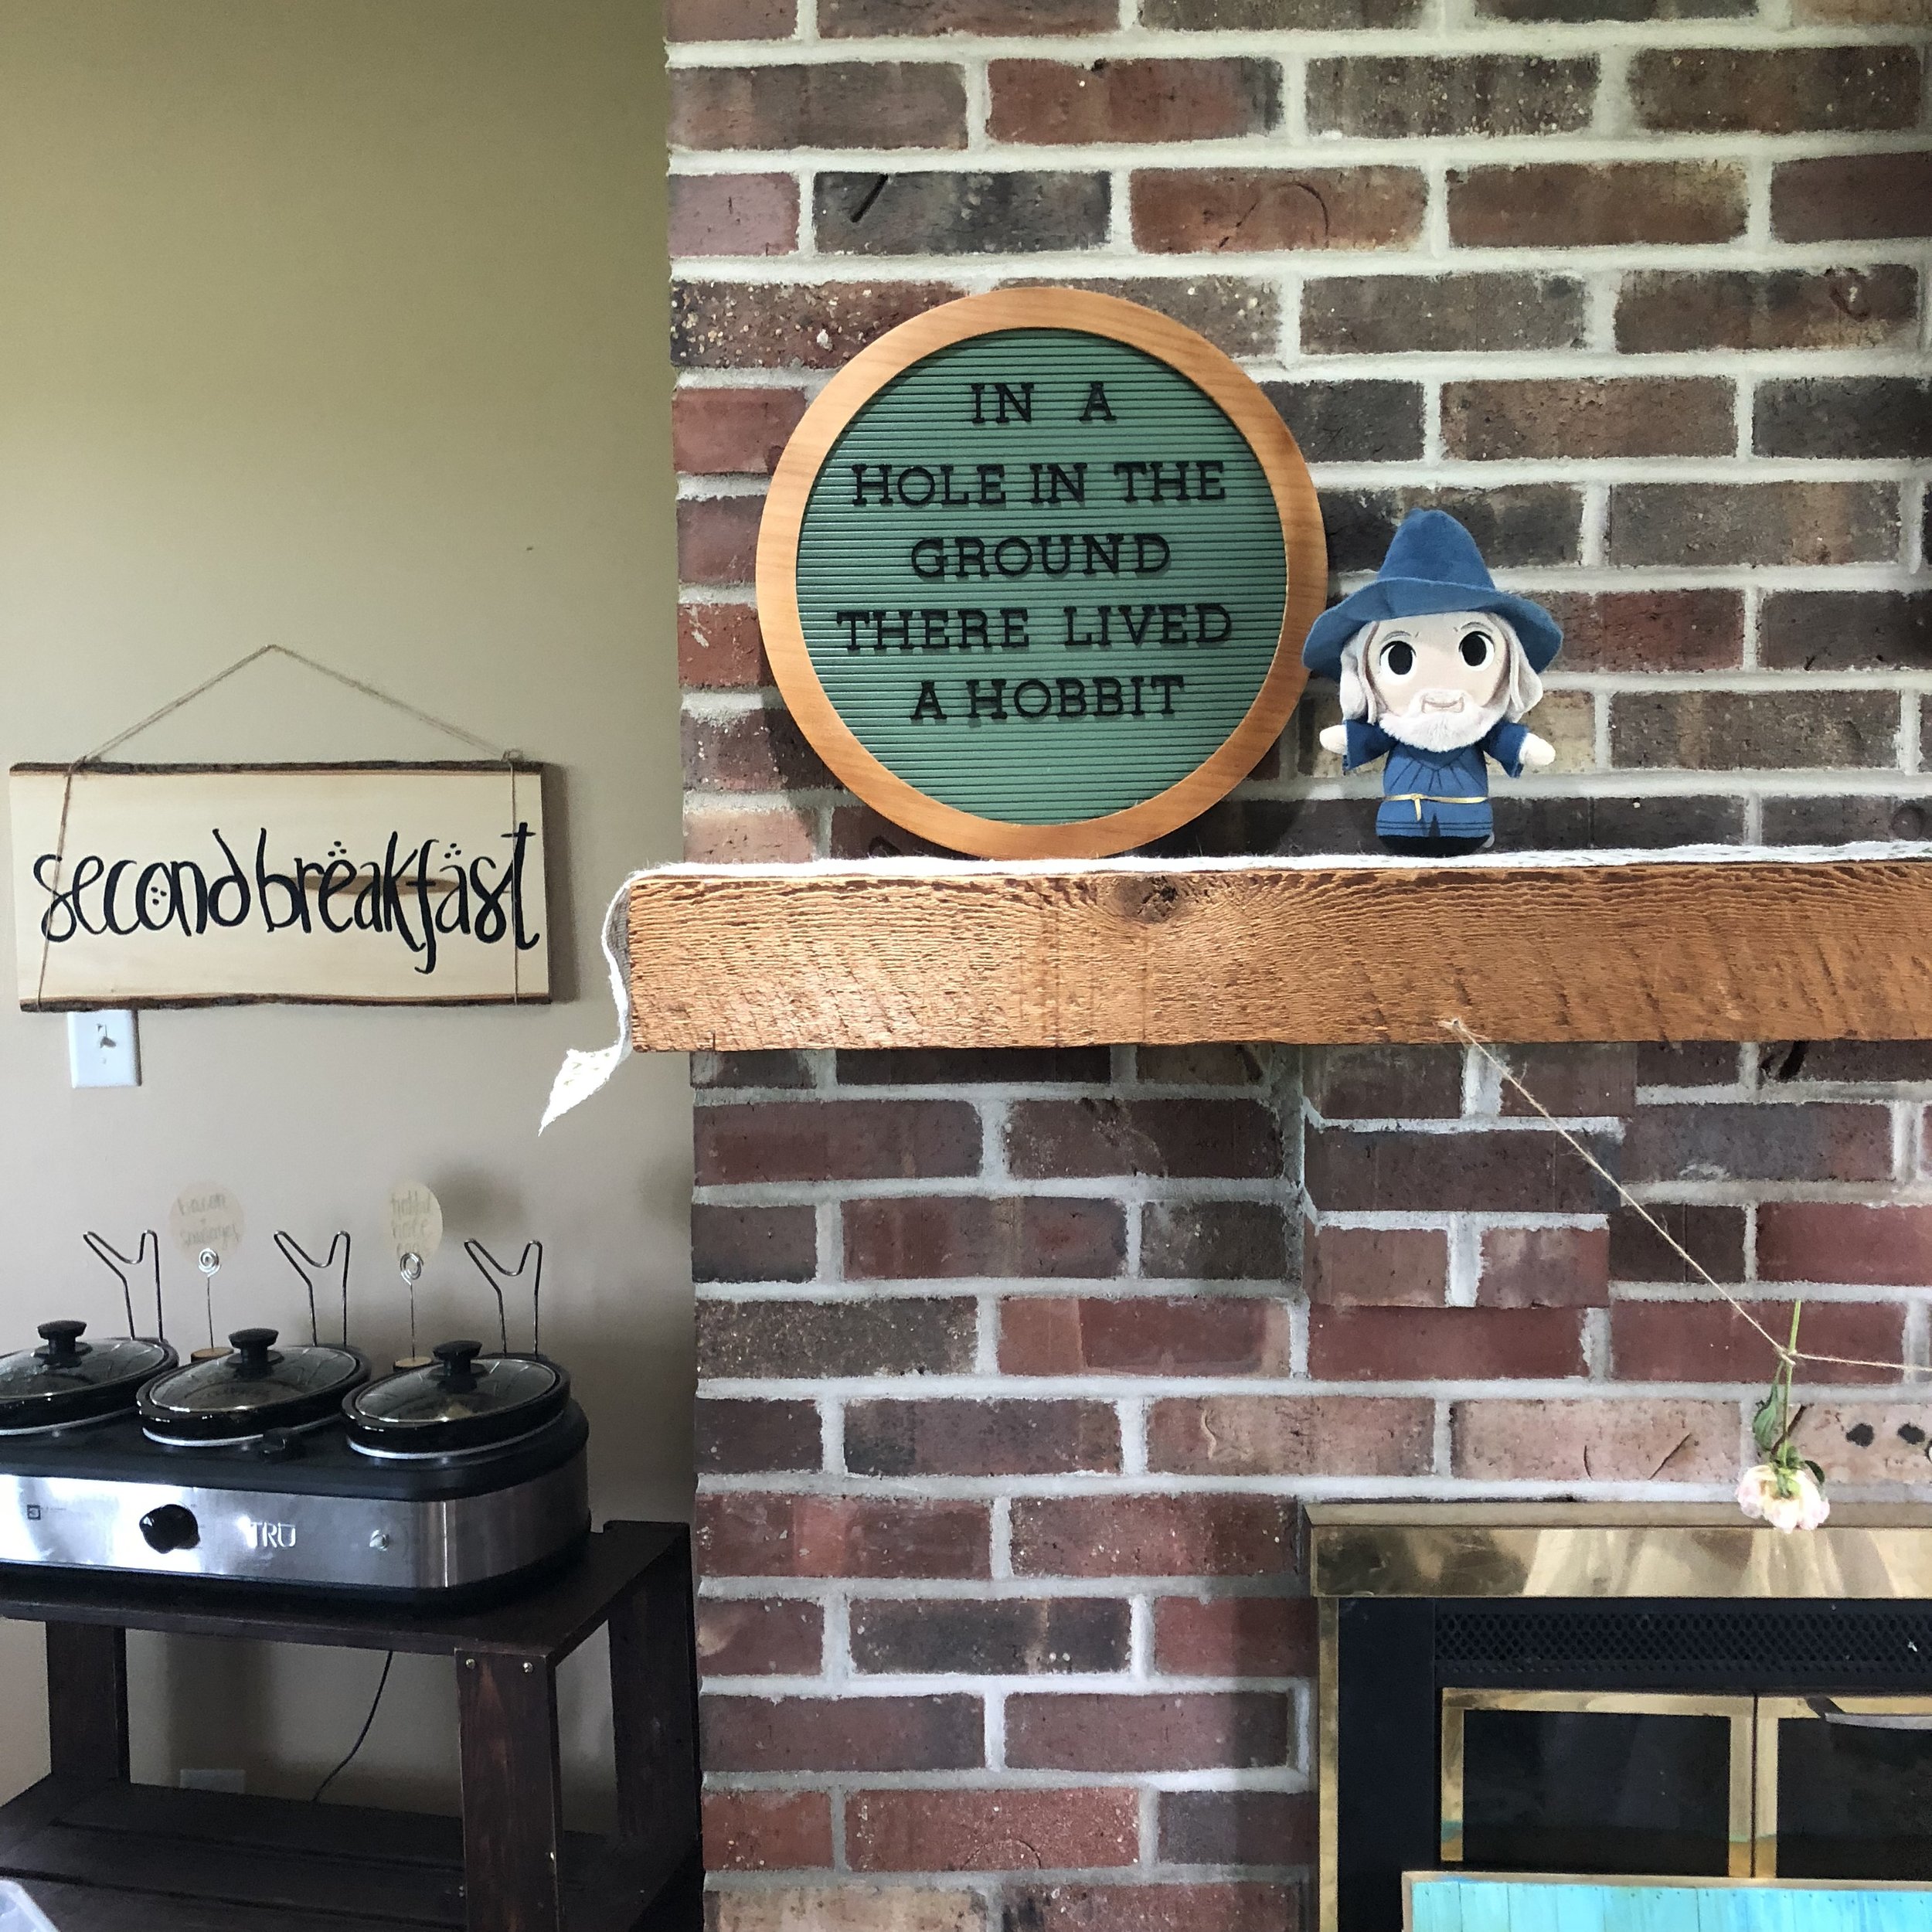
Living Like a Hobbit: Making Your Own Beeswax Candles

A few weeks ago, one of those glorious yet terrifying midwest thunderstorms swept across our town and knocked down our power lines right after dinnertime. After realizing we didn’t own any flashlights aside from the ones on our phones, I was able to find a few candles to light up our room after the storm. (Don’t worry, I also ordered flashlights later, too.)
A few days later, a friend shared that she was making her own ‘emergency candles’ on her instagram story and I thought, yeah, I should do this too! Candle-making is one of those things I had always wanted to try but had just assumed it was impossibly difficult — but I was quite surprised! It wasn’t too bad! If you’re feeling intimidated, don’t be! You can do it!
Supplies
Stainless steel pitcher (I like this one because the handle can hook over the side of the pot which makes stirring easier)
Glass jars (4 oz jelly jars for little candles)
Pre-Waxed Wicks
Bamboo skewers (for stirring and to help with keeping your wicks straight)
Beeswax (this stuff is clearly super processed but it worked fine for me; in the future I’d like to try something that was at least still yellow)
Coconut Oil
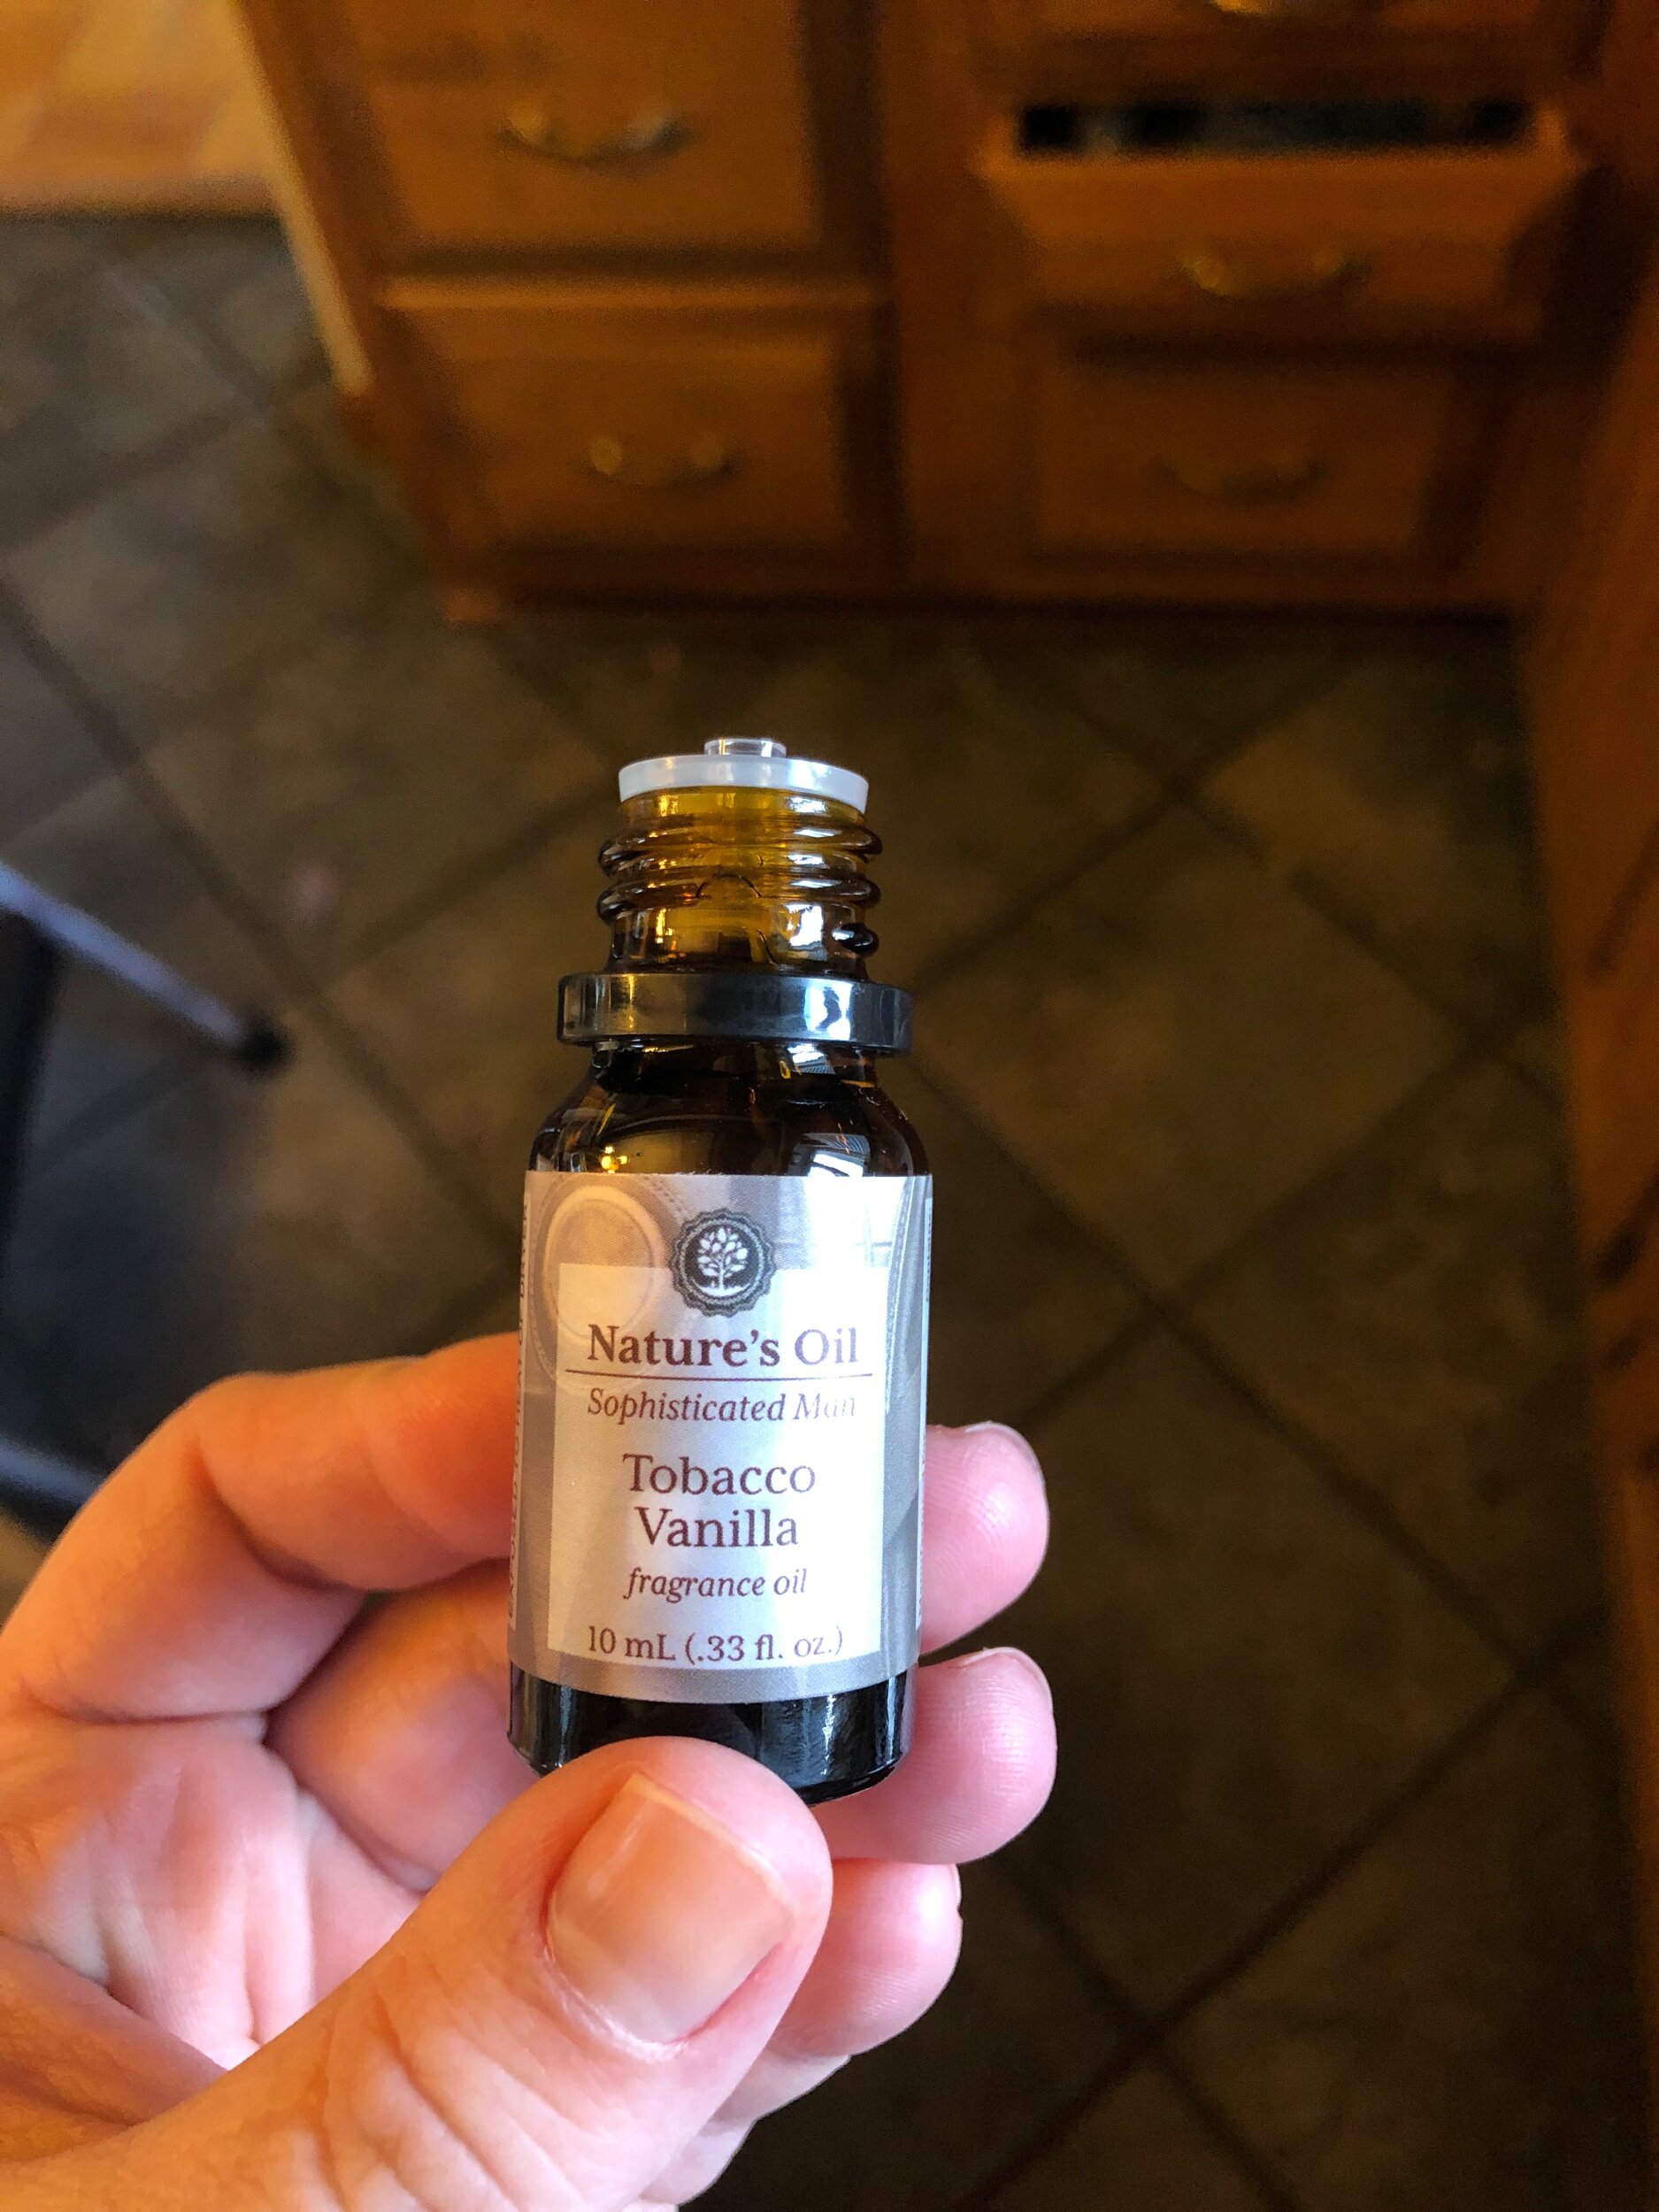
Any fragrances you’d like to use (I found my tobacco scent here)


I followed this tutorial by Wellness Mama. I made a few using straight beeswax and then a few more by mixing one spoonful of coconut oil in with every batch of beeswax (note: my pitcher is very tiny! only 12 oz, so keep that in mind if you are using a bigger pitcher). I noticed that the candles with coconut oil burnt more evenly and even a little brighter.
Below is a comparison (pure beeswax is on the left and the blend is on the right)!


I also played around with scenting the candles, which was quite fun! I ordered this tobacco fragrance online because pipe tobacco is one of my favorite scents, and I also made a few using orange and lavender essential oils. Don’t be shy when adding the fragrances if you want them to have a strong smell when the candle is burning!
While my first batch of tiny candles turned out well, I ran into a problem when I tried to make larger ones: the middle kept caving in! I mentioned this on twitter, however, and a few other candle-makers have said that this is common. If it happens, simply do another pour of the wax to fill it in! So make sure not to fill your candle to the top in the first pour or you won’t have room. (Also, I hadn’t trimmed the wicks yet for this photo so don’t forget to do that.)


I hope this was helpful! Please let me know if you have any other questions! I’m so excited to see how your candles turn out — tag me @teawithtolkien on instagram or twitter if you share them!